Labels

Friday, September 6, 2013

BGA Velectrik deraileur mechanism

I have cleaned, greased, reassembled, and mounted the deraileur. Here are some videos of how the BGA deraileur works.

The first video shows the whole bike, and the entire deraileur mechanism


The second video is a closeup of the main pivot


And the third video is of the main deraileur mechanism itself
Tuesday, September 3, 2013

Left Pedel reassembly

The pedal soaked in a bucket of evapo-rust overnight.

Here are the parts out of the evapo-rust after a quick wipe down. (the other pedal is in the background)


 This is the cone on the pedal. You can see a hole in the race, and part of the race actually seems to have dissappeared. (I also found what looked like 1/2 a ball bearing when I dis-assembled it). I went to 2 bike stores to try and find a replacement but no luck. I did get a lead on a place about an hours drive away that recycles old parts, so I will try that later this week.
 Repacked using new 5/32" ball bearings.

and lots of grease

before the top layer of grease was added.

finished left pedal next to the right pedal (which is in the evapo-rust bucket now)

right pedal 

finished left pedal

Sunday, September 1, 2013

Reinstalling the bottom bracket.


1/4 inch bearings required

The adjustable cup and lockring before cleaning and repacking

After cleaning

First layer of grease with 11 1/4 inch ball bearings packed in.

Another layer of grease on top

Drive side of spindle (I hope, this side was a little longer) with a layer of grease and the 11 1/4 inch bearings packed in 

Another layer of grease on top

Adjusting the adjustable cup was difficult because;
1. it has wrench flats instead of pin holes
2. the wrench flats are too large for any non-adjuctable wrench I own
3. the lockring notches are too small for any lockring tool i own.

The wrench flats are 1 1/8 inch (28.575mm). I ended up using an adjustable wrench, and since this is not put on tight at all, it worked fine.

After a lot of searching and trial and error, I found this VAR - 78 tool worked very well on the knurled edge of the lockring.

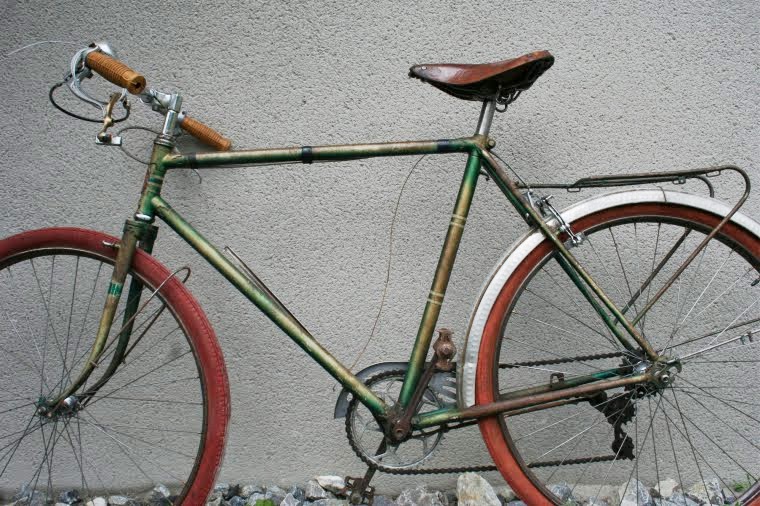
I haven't fully inserted the cotter pins yet, but wanted to see it look a bit more like a bike. Quite please with how the chainring/cranks have cleaned up with the evapo-rust. (the cotter pin nut and washer are in there now)